һ��ϵͳԼ��ƪ
�����������غ���λ�ã�X:\Server_Tools
����������װλ�ã�X:\Server_Core
PHP��װλ�ã�X:\Server_Core\PHP
MySQL��װλ�ã�X:\Server_Core\MySQL
Zend Optimizer��װλ�ã�X:\Server_Core\Zend
IIS��վվ���Ŀ¼��X:\wwwroot
MySQL ���ݿ�λ�ã�X:\Database
php.ini���λ�ã�Y:\Windows\php.ini
my.ini ���λ�ã�X:\Server_Core\MySQL\my.ini
ע��X��YΪ�����еı�����X����ʾӦ�ó���ʵ�ʴ�š���װ�ķ����̷���YΪϵͳ���ڷ����̷�
����ϵͳ��������Լ�����������ƪ
1�����ϵͳ�Ƿ��Ѱ�װIIS
����������ʼ�������������ߡ���
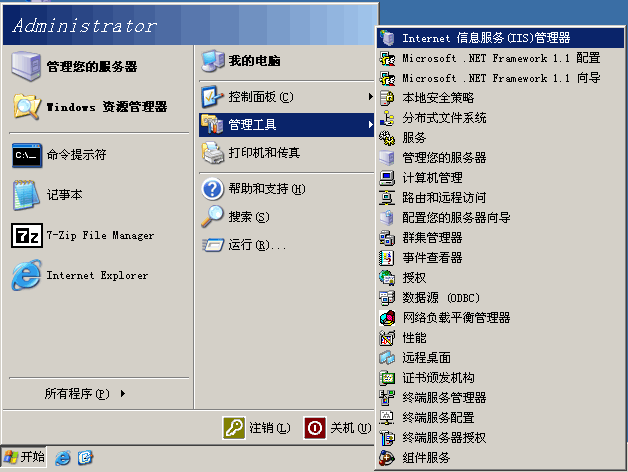
����Ƿ���ڡ�Internet ��Ϣ���� (IIS) �������������ڲ���ϵͳ���л��Դ� IIS ��������Խ��鰲װ����ϵͳʱҲ�� IIS �����װ�ϡ����δ��װ�����Ե����������ض�Ӧ����ϵͳ�汾�� IIS ��
2���鿴���̷���������ȷ��ʹ�ò���
���ҵĵ��ԡ����鿴��C����������̷����Ŀ��ÿռ�������ʹ�������ϴ�Ĵ��̷�����ΪWEB��Ŀ¼����MySQL���ݿ��洢Ŀ¼(Database)��������Ҫ��WEB��Ŀ¼ͬ��һ�����̷����ڡ���С�Ĵ��̷���������Ϊ���������İ�װĿ¼������
ע����������Ҫ����Ҫ����в���
3�����ػ�������
���������������ش����Server_Tools�ļ����У����ص�ַ��
MySQL v5.1.63 for Win����
PHP v5.2.17 For Windows����
Zend Optimizer v3.3.3����
phpMyAdmin v3.4.11����
ע�����php�汾ѡ��5.2.x����ʱ��Ҫ��php5.3�汾��Ҳ��Ҫ��php4��php�ٷ������ṩphp4֧�֣�MySQL�汾ѡ��5.0.x��php��MySQLС�汾��Խ��Խ�ã�û������ԭ���������汾�����ܻ���bug��php����ʹ�÷ǰ�װ����ɫ�汾��MySQL�����ð�װ�汾��
������������ƪ
1����װMySQL1����װ����
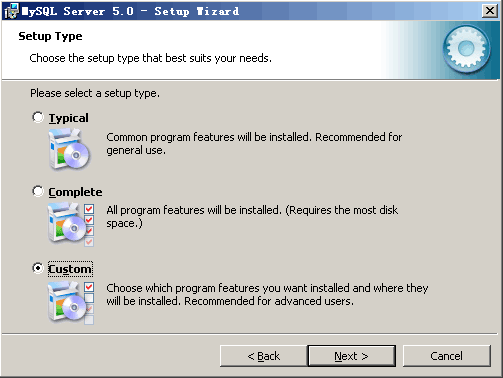
����X:\Server_Tools�ļ��У�˫��mysql-essential-5.0.67-win32.msi��

ѡ��Custom�Զ��尲װ
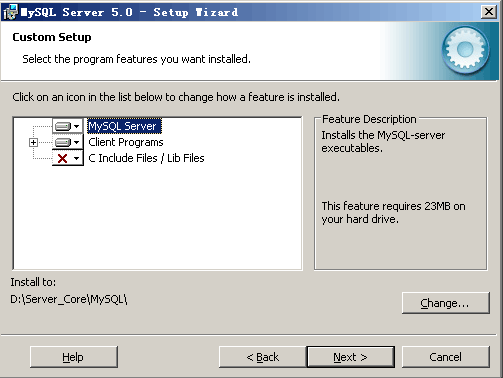
�����Change������MySQL��װĿ¼
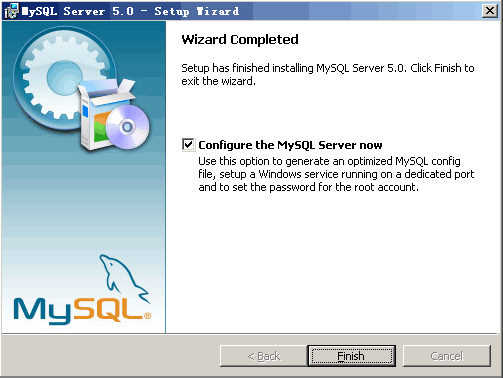
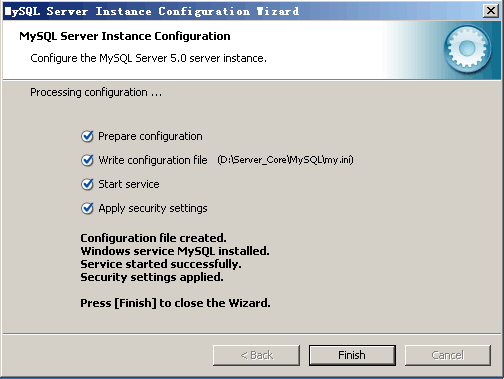
���ļ����ư�װ��Ϻ���MySQL���ý��棬����Finish��
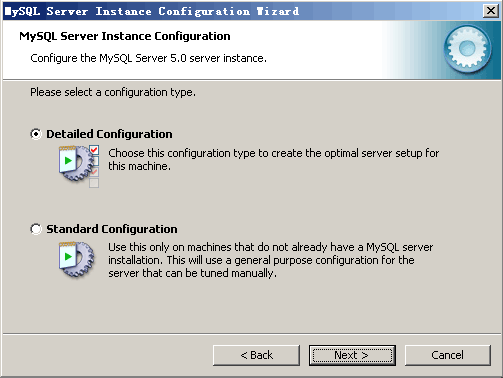
ѡ��Detailed Configuration������ϸ����
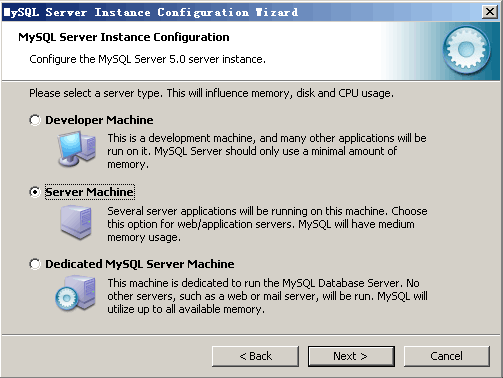
ѡ��MySQL����ģʽ��Server Machine
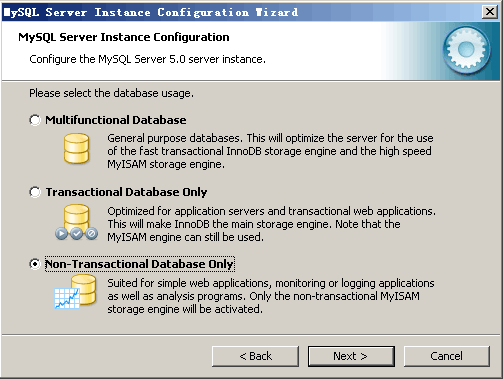
ѡ��MySQL���ݿ�Ĭ�ϴ洢��ʽ��Non-Trans Only (MYISAM)
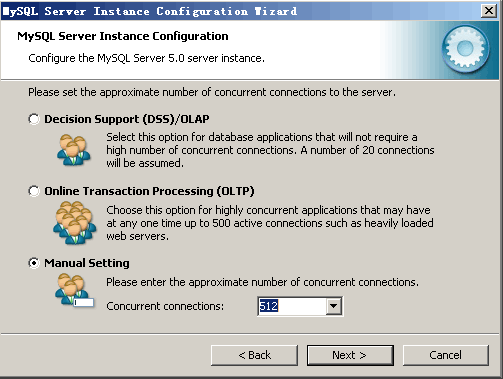
�趨MySQL�����������һ������Ϊ128 - 512֮���������
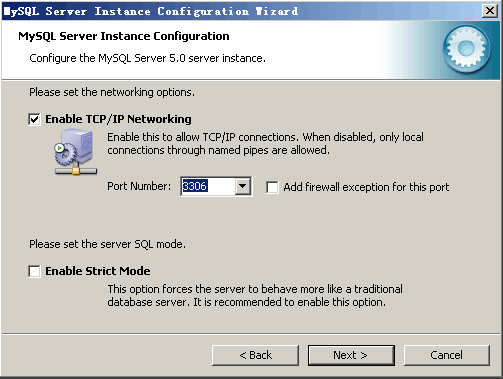
�趨MySQL���������ע�⣺��Ҫ��ѡ����Strict Mode���Ǹ�Addfirewall��ѡ�������Ҫ����MySQL��ʱ��ѡ�ϣ�Ҳ����˵������ǽ�Ӹ�����վ�IJ��ԡ�
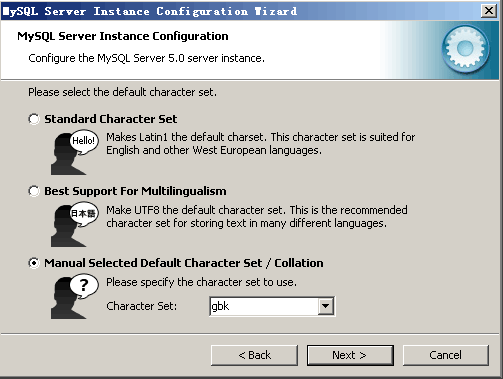
�趨MySQLĬ���ַ��������û�վ������Ϊ��Ĭ��������gbk��
Windows�����趨

���趨 root �û����룬root ���������õıȽϸ���Щ��
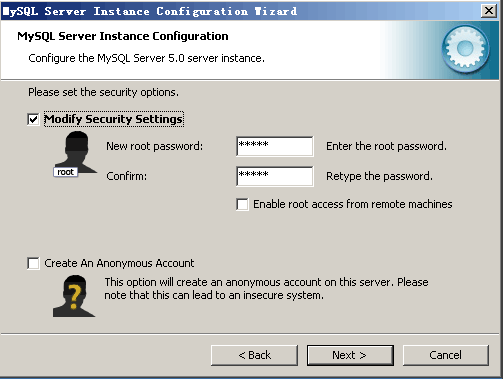
ע�⣺�DZ�Ҫ����£���Ҫ����Զ������ģʽ�� ��� MySQL �İ�װ�������� MySQL ����
2������MySQL �����Ƿ�����
��cmd������ʾ�����ڣ��������mysql �Cu root �Cp
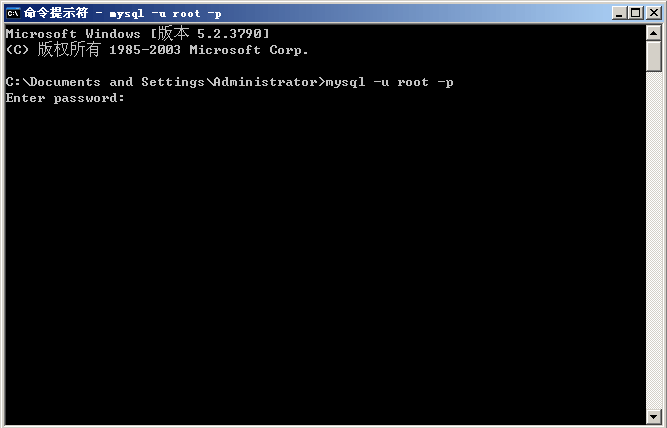
����ղŰ�װʱ���õ����������ܹ���������MySQL����̨��˵��MySQL��װ������& nbsp;
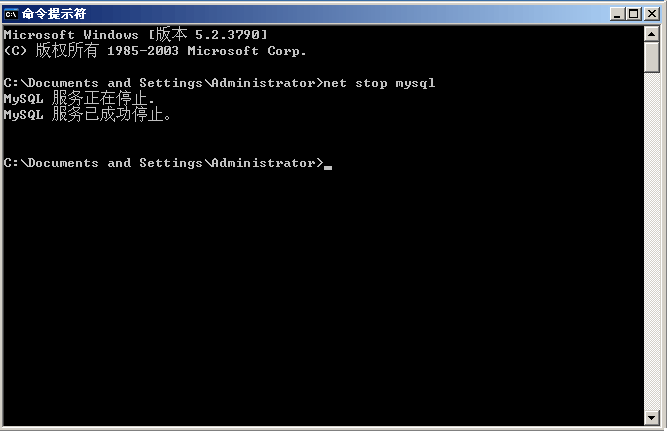
3������ MySQL ���ݿ���Ŀ¼
��cmd������ʾ�����ڣ��������net stop mysql ֹͣMySQL�������У�
��X:\Server_Core\MySQL\my.ini��
�ҵ��� Datadir="X:\Server_Core\MySQL\data"
���� Datadir="X:\Database"
��X:\Server_Core\MySQL\data �ļ��и��Ƶ�X:\����������X:\Database��
��cmd������ʾ�����ڣ�
�������net start mysql
����MySQL����
���²���MySQL�Ƿ���������
4���ƶ� LibMySQL ��̬���ӿϵͳĿ¼
��X:\Server_Core\MySQL\bin\libmySQL.dll�ļ����Ƶ� Y:\Windows\System32Ŀ¼�¡�
2����װ PHP
1����ѹ��
��ѹ�����ص�php-5.2.8-Win32.zip�ļ��������临�Ƶ���X:\Server_Core\PHP ��
2����php.ini
����X:\Server_Core\PHP�ļ��У���php.ini-dist ������Ϊphp.ini ��
��php.ini�ļ����ҵ��� extension_dir= "./"
������� extension_dir= "X:\Server_Core\PHP\ext"
�ҵ���Windows Extensions
��Windows Extensions�·��Ķ�̬ģ�������У���Ҫ������ģ��֧�֣���ȥ��ģ������ÿ��ǰ��ķֺż��ɣ�
php_gd2.dll php_mbstring.dll php_mcrypt.dll php_mhash.dll php_ming.dll php_mysql.dll php_openssl.dll php_sockets.dll php_xmlrpc.dll php_zip.dll
�ҵ���
disable_functions=
����
disable_functions=passthru,exec,system,chroot,scandir,chgrp,chown,shell_exec,proc_open,proc_get_status,ini_alter,ini_alter,ini_restore,dl,pfsockopen,openlog,syslog,readlink,symlink,popepassthru,stream_socket_server 3��IIS��PHP���������� 1��������վ ����IIS�����������½�һ����վ�������������� 
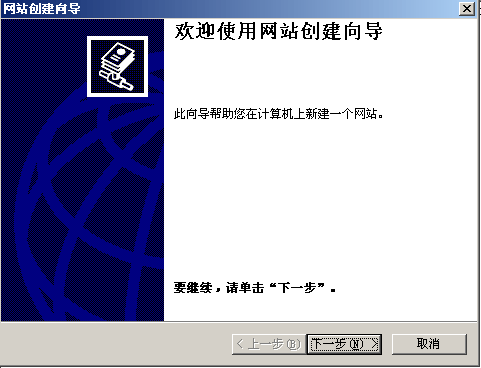
������վ���ƣ������ƽ�Ϊ IIS �еı�ʶ 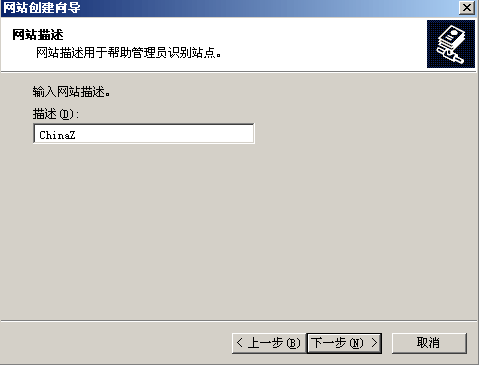
��վIP��ַ������д���˿���û������Ҫ����80���ɣ������ȷ������վ������ 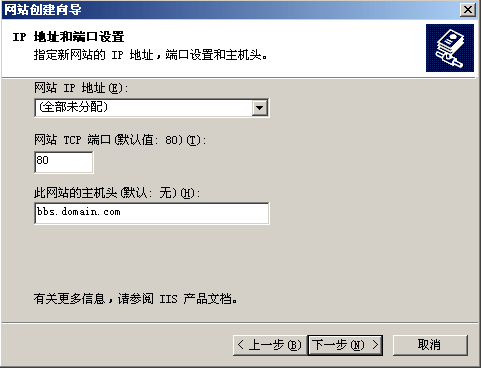 ����վ�����н���wwwroot�Լ��¼�վ���ļ���bbs 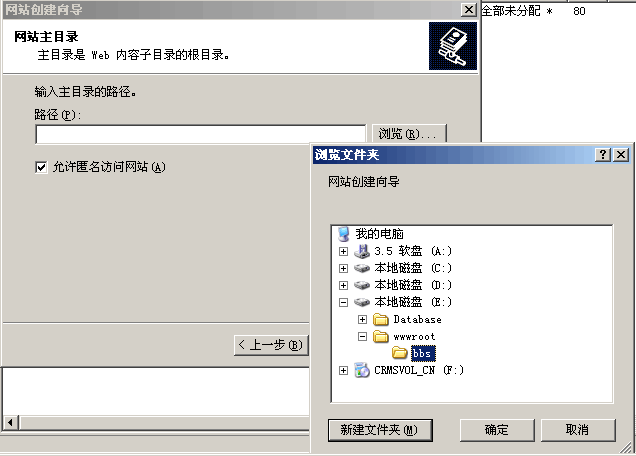
����PHPӦ�ã���Ҫ�����վ�㡰��ȡ���͡����нű�����Ȩ�ޡ� 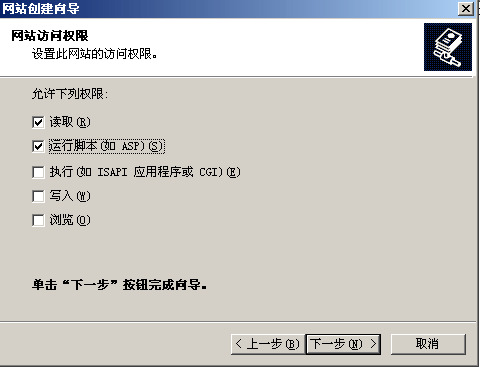
���ˣ��Ѿ��ɹ����½���һ��վ�㡣 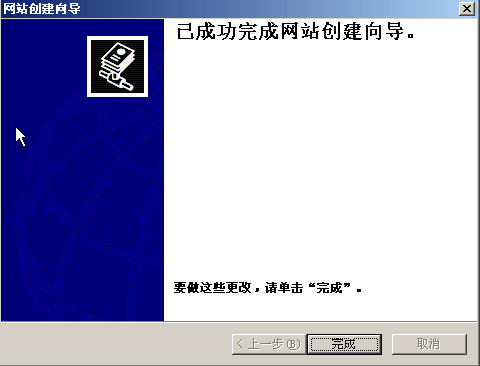
IIS��PHP���������� �ոս�������վ���� 
��վ�����Դ����У���������Ŀ¼��ҳǩ�����������á���ť�����µ����ġ�Ӧ�ó������á��Ի����У����������ӡ���ť������PHP��ISAPI֧�֣�ѡ���ִ���ļ���X:\Server _Core\PHP\php5isapi.dll����չ��Ϊ.php�����ƶ���Ϊ��GET,POST��������ȷ�������ӣ����� ��Ӧ�ó������á������в鿴.php��չ�Ƿ���سɹ������ɹ�������ȷ�����ر����ô��ڣ��ص�վ�����������ڡ�

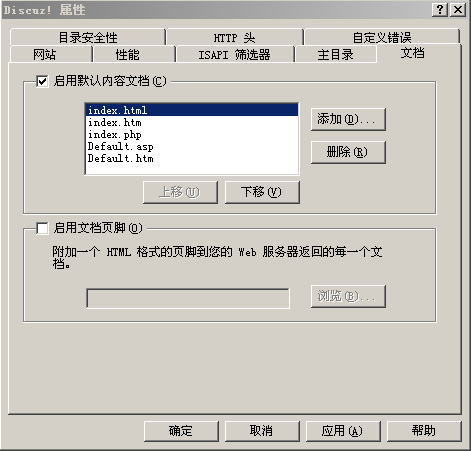
�������ĵ���ҳǩ����Ĭ�������ĵ�������index.htm��index.html��index.php�����ļ�����������Ĭ���ĵ�����˳������ͼ��ʾ����ɺ�����ȷ�������ر�վ���������ô��ڣ��ص�IIS�����������档
�Ҽ�������Web ������չ��������PHP��չ֧�֡�
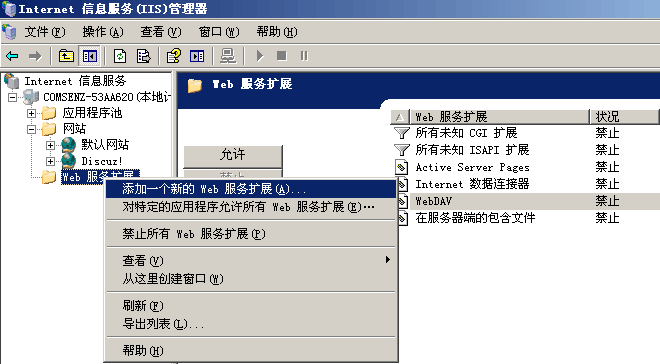
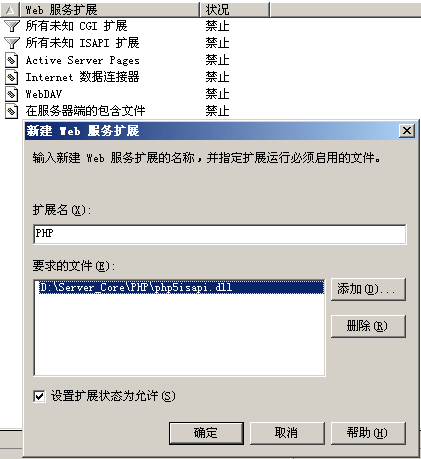
������ͼ��ʾ�ġ��½�WEB������չ���Ի����У�����չ������дPHP�����ļ���ѡ��X:\Server_Core\PHP \php5isapi.dll�������ø�PHP��չĬ��Ϊ������
����IIS���� 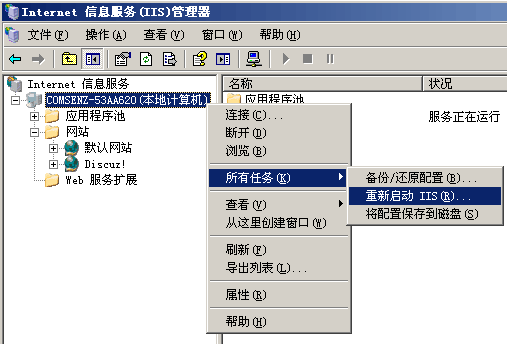
���ˣ�IIS��PHP�������Ѿ���ϡ�
3������PHP�Ƿ�װ��ȷ ����X:\wwwroot\bbs\
Ŀ¼���½�һ��phpinfo.php�ļ�������Ϊ�� <?php
phpinfo();
?> ��IE����������룺http://www.xxx.com
/phpinfo.php ע��www.xxx.comΪ��ķ���������������������дlocalhost ����ܹ�������ʾP
HP֧����Ϣ������������ϳɹ��� 4����װZend Optimizer ����X:\Server_Tools�ļ��У�˫�����ص�ZendOptimizer-
3.3.3-Windows-i386.exe�ļ��� 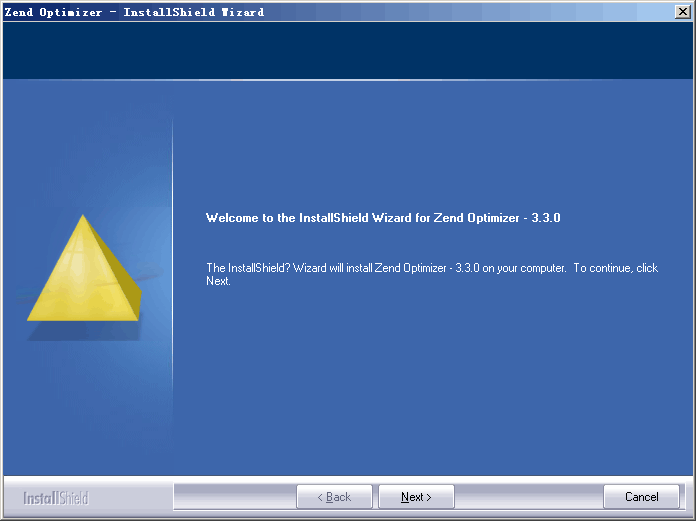
ѡ��I accept the tems of the license agreement 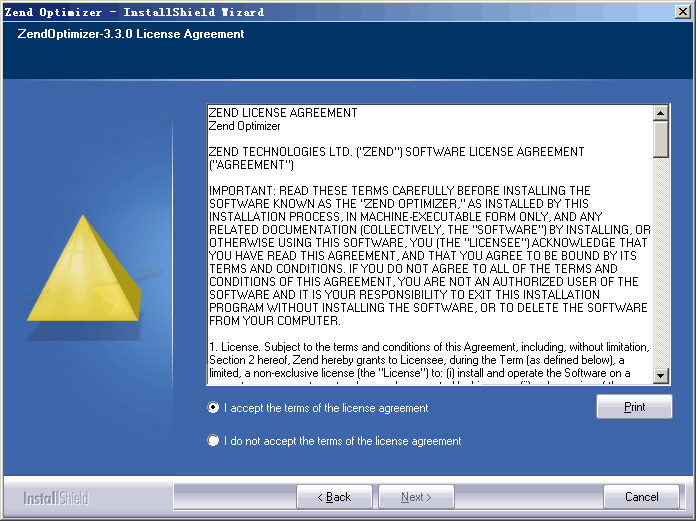
�����Browse��ָ��Zend Optimzer�İ�װĿ¼ΪX:\Server_Core\Zend 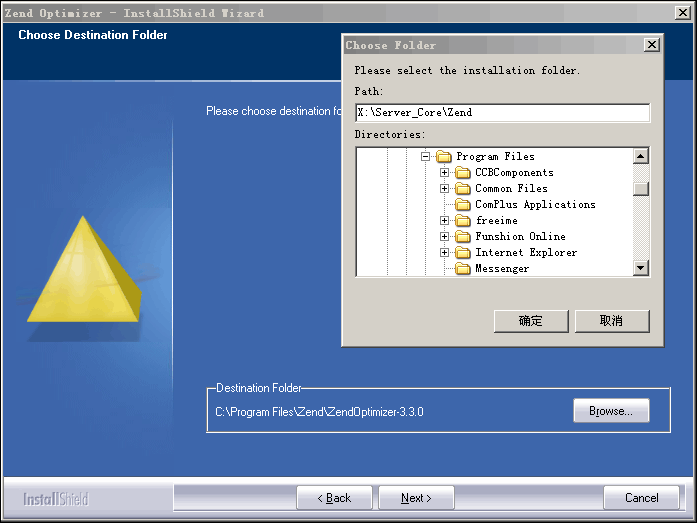
ѡ��IIS��Install detected Microsoft Internet Information Services 5.1�� 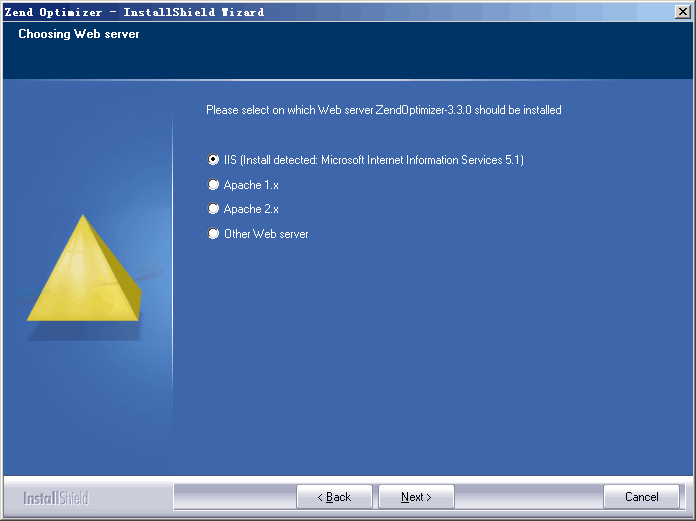
ѡ��php.ini��λ�ã�ע��۲��Ƿ�ΪY:\Windows��������ǵ����Browse��ѡ��Y:\Windows 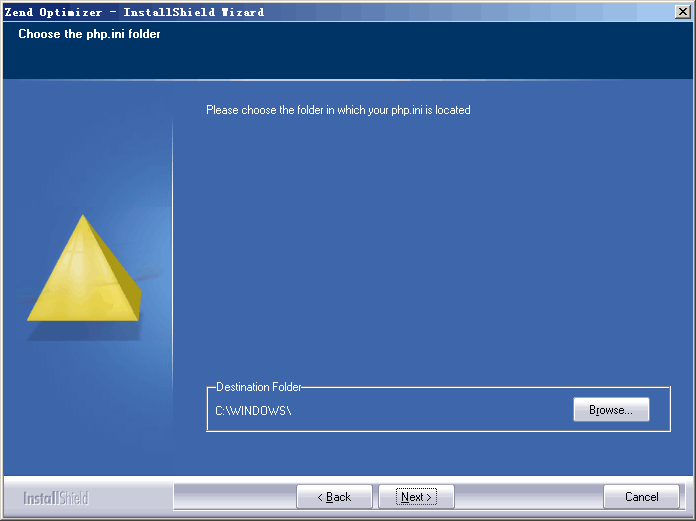
ѡ��IIS��վ��Ŀ¼��λ�ã�ָ��Ϊ��X:\wwwroot 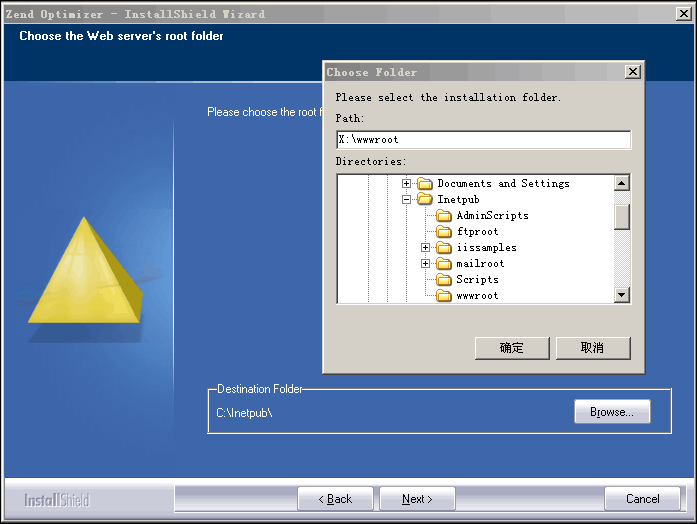
���ˣ������Zend Optimizer�İ�װ�� 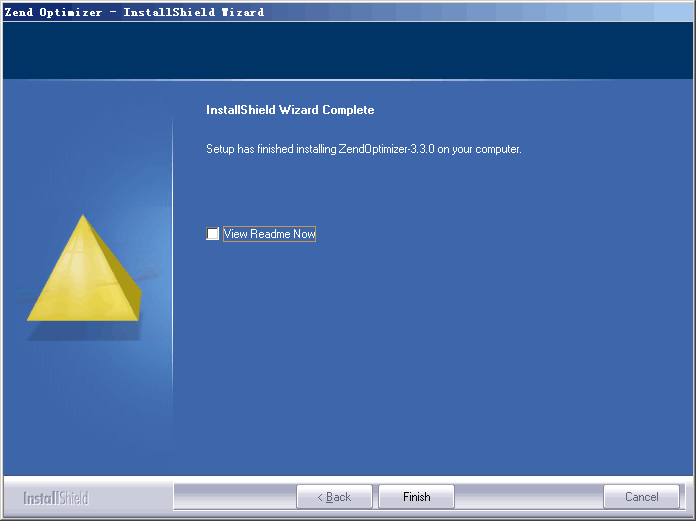
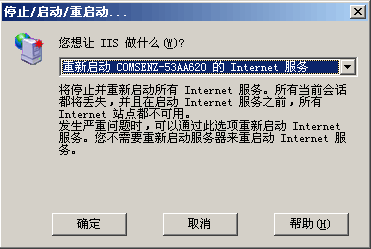
Zend Optimizer��װ��ɺ���Զ�����IIS����������ɺ���Ҫ�ٴδ�IE��������ڣ���phpinfo.php֧����Ϣ��
�۲��Ƿ������Zend Optimizer֧����Ϣ�����û�У���˵��Zend Optimizerû�а�װ�ɹ���
|